How to solve creaking bikes - A Ribble Guide
Creaks and clicks have tortured cyclists since time immemorial. They are the bugbear of all cyclists and pop up at the most inopportune moments. Normally when you're miles from home and have no choice but to suck it up and endure the annoyance until you return home. Find out how to solve creaking bikes in our latest how-to guide.
Creaks & squeaks
The creaks and squeaks that blight your ride are perhaps some of the most irritating bike problems. They often appear to emanate from the drive train. However, it's highly probable that the noise is being transmitted through the structure of the frame. As a result, the creak could actually manifest from almost any part of the bike. This is why they are notoriously difficult to track down and eliminate.
In fact, tracking down a creak is often a process of elimination. Starting with the most common suspects and working your way through them until the noise disappears. It's easy to assume that because a noise coincides with the action of pedalling it is coming from the drive train. However, this is often not the case. Such issues can be a sign of more serious problems and damage to component parts may result if they are left unresolved.
Creaking occurs due to the friction of two-component parts rubbing against each other. Therefore, to prevent such occurrences, regular maintenance is essential. All of the bike's moving parts should be cleaned and lubricated on a regular basis. Doing so will prevent a lot of these types of problems from ever occurring. Another good habit to get into during routine maintenance is to check that any threads are clean. Similarly, that every bolt is tightened to the correct torque.
But if you do get one that you just can’t get rid of, some of the more usual causes are listed below:
The usual suspects
1. Pedals/Cleats
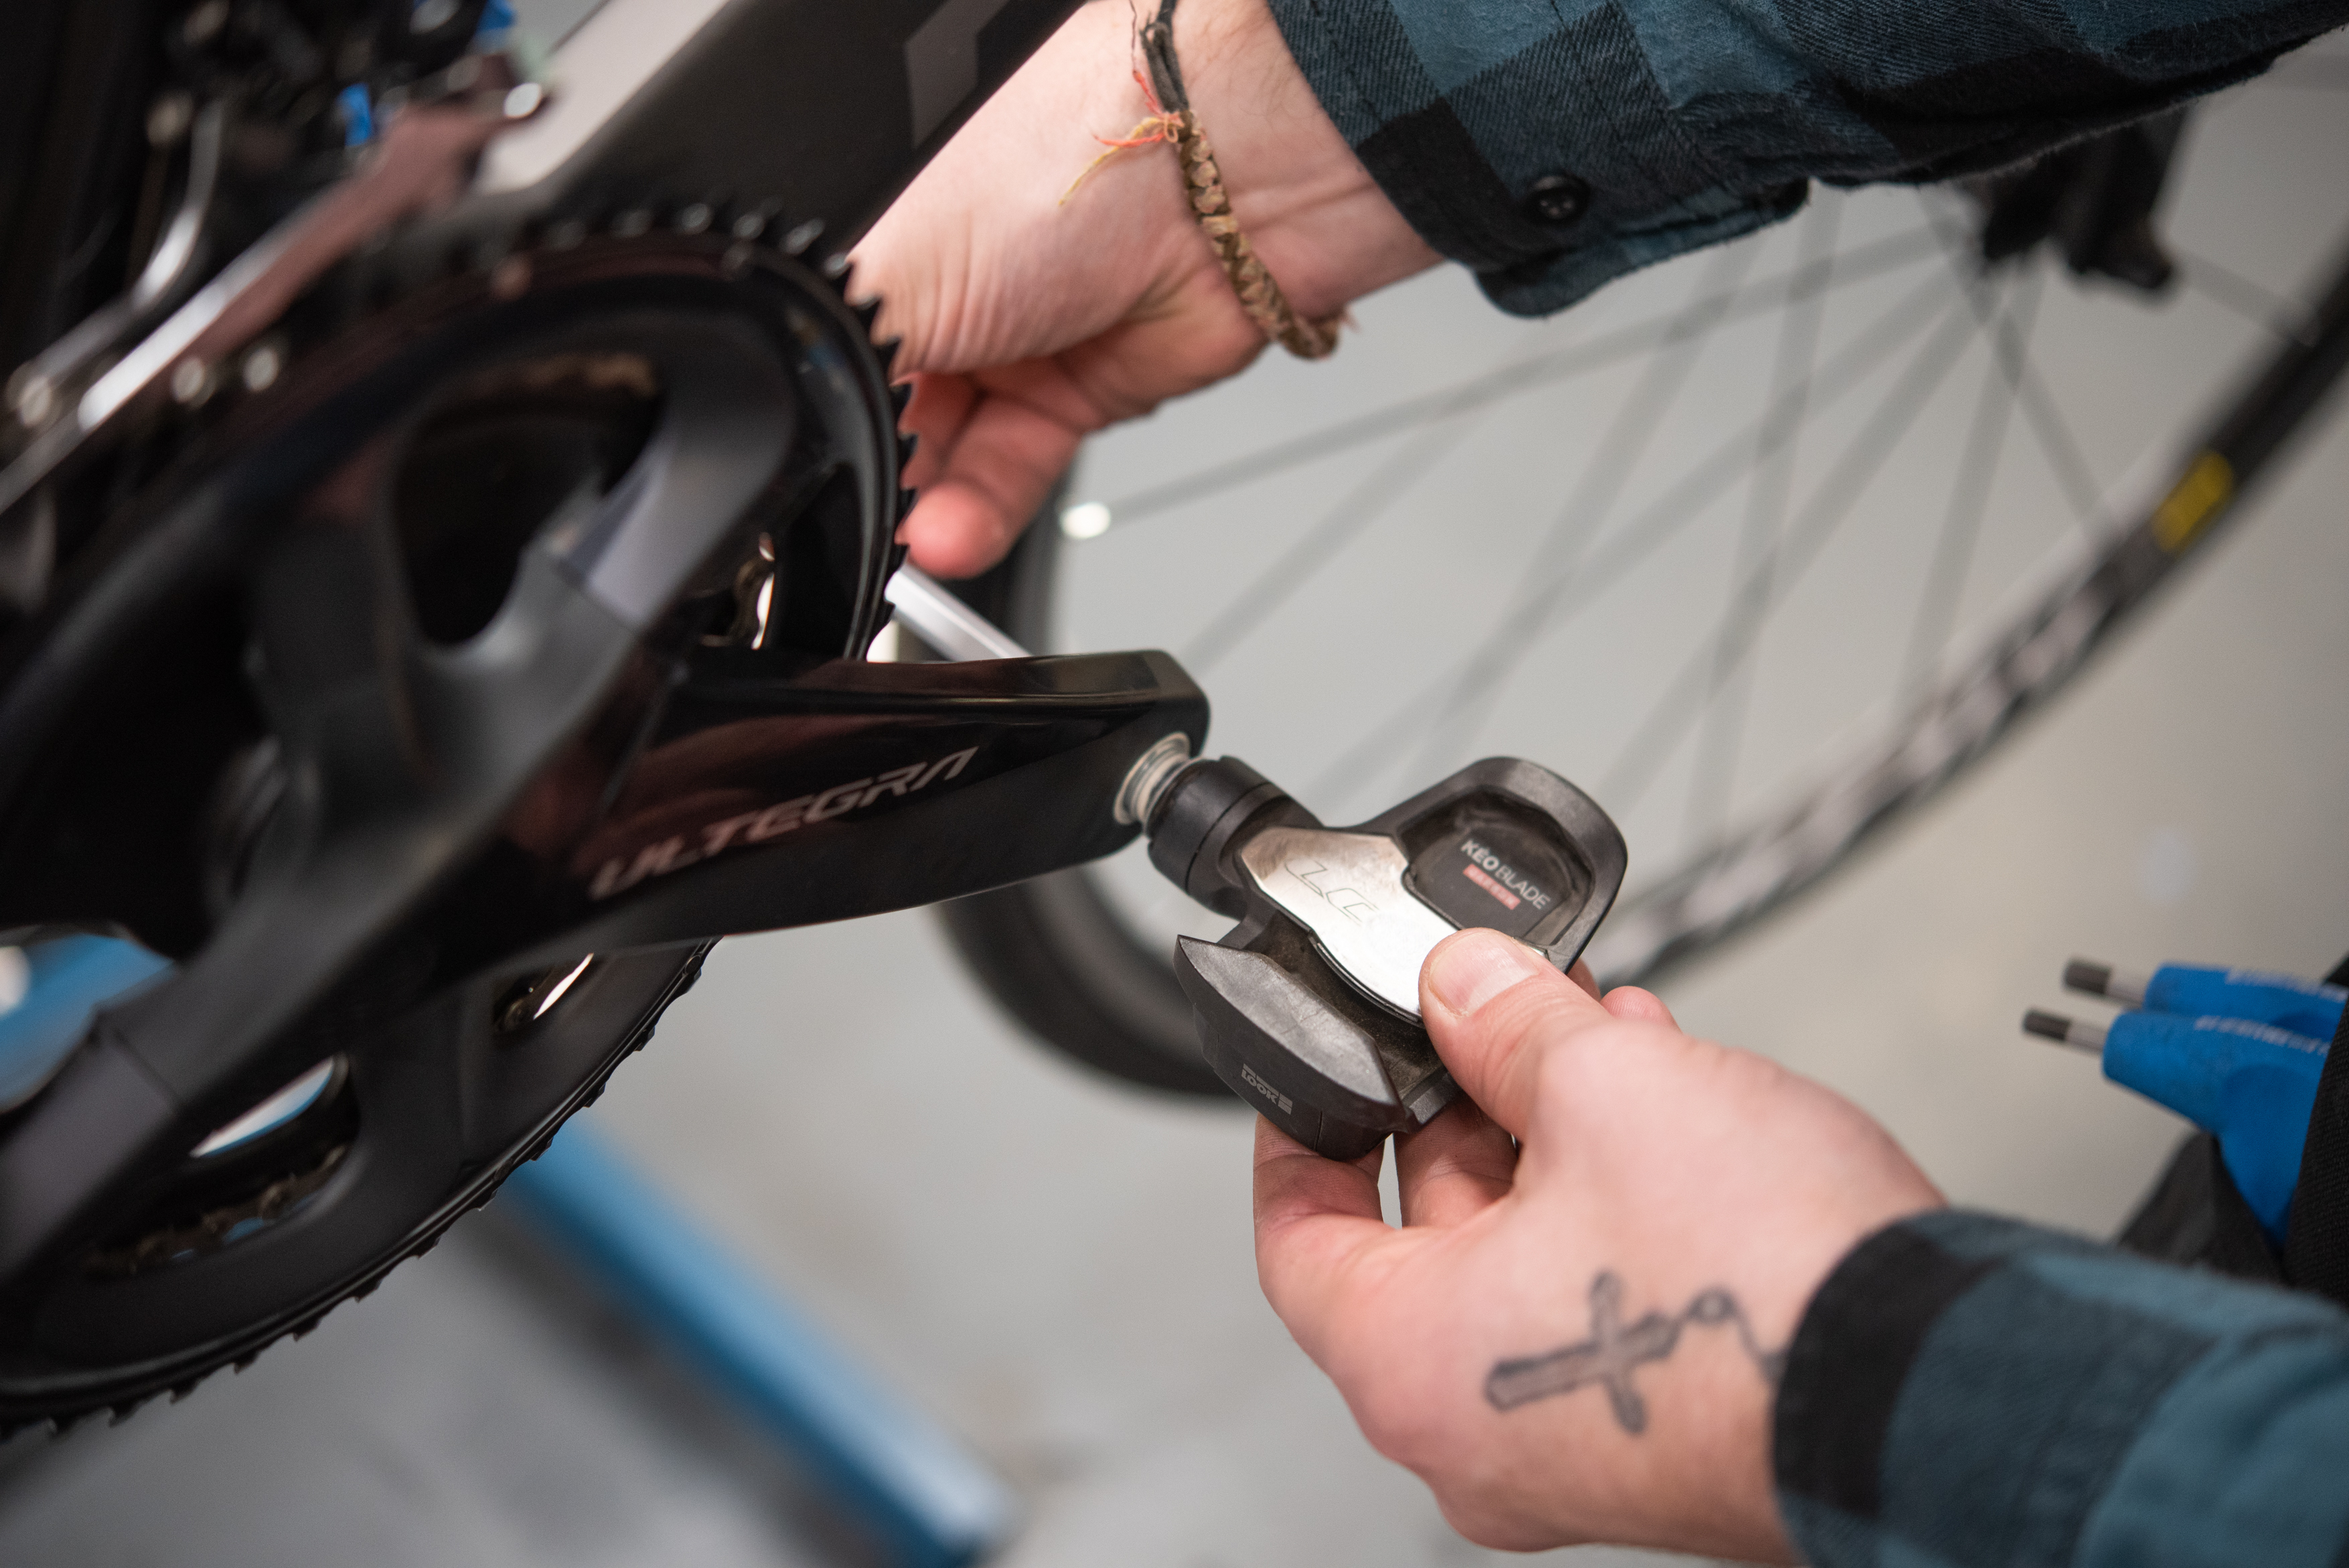
The most common complaint we receive from new bike owners is that they are experiencing a creak. In perhaps as many as 95% of the cases it was determined that the culprit was a lack of grease on the threads of the pedal axles. So, if you are hearing a noise on every pedal stroke, this is the most likely cause. When fitting pedals, the threads of the pedal axle and the corresponding threads in the crankarm should be liberally coated with grease.
It's also important to refresh this during routine maintenance as it will be washed out eventually. To eliminate, remove the pedals, clean the chainset/pedal threads, re-grease and then refit pedals into the crankarms. Pedal bearings can also creak so take the time to spin the pedals and listen for any noise. Similarly, check to see if the pedals feel rough when they are spun (some, but not all, makes of pedals can be serviced).
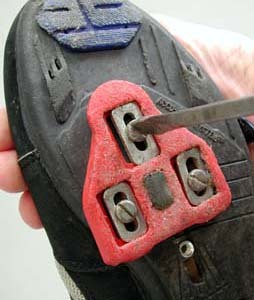
If you have cycling shoes that have cleats bolted into the underside, these have a tendency to work loose and cause noise. As per the advice regarding pedal fitment - use a mild grade of thread locking compound or grease on the bolts, and tighten them fully.
2. Chainsets
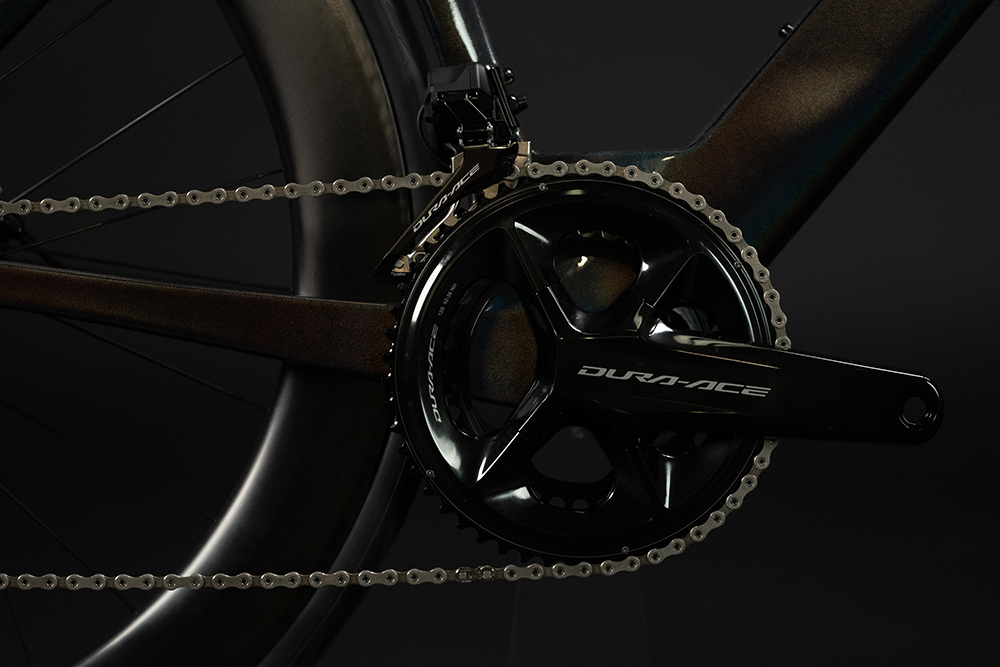
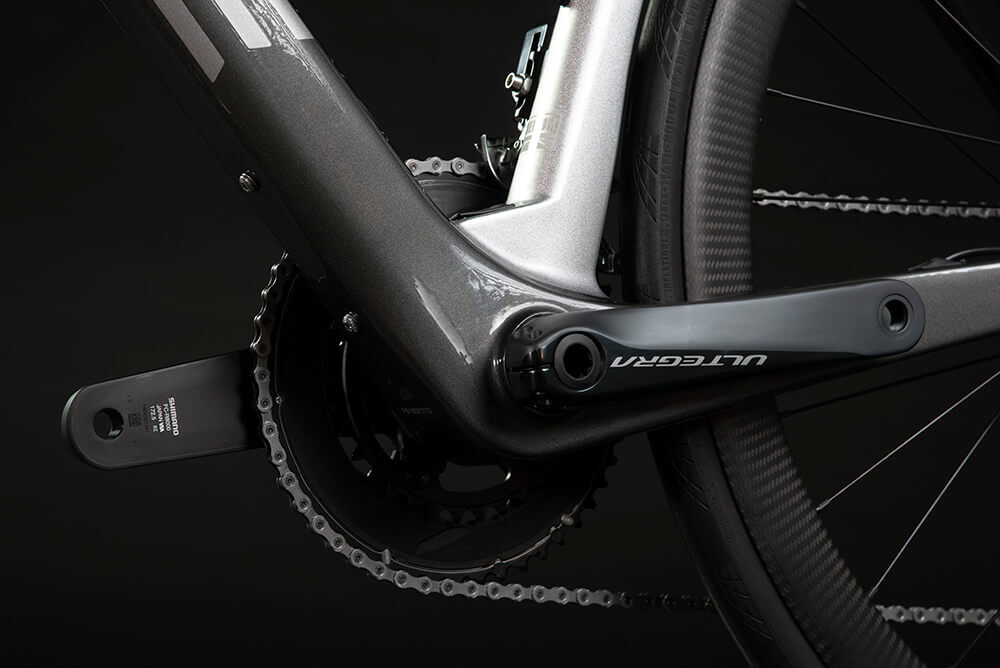
Shimano's range of Hollowtech II chainsets essentially consists of two parts. The main drive side crank has an axle built into it. The left-hand crank is secured to this axle with 2x Allen bolts. During use, it is possible for these bolts to work slightly loose over time and these can also cause a creak. Quickly checking that they are tightened to the correct torque is an easy way to eliminate these. Another possible culprit is the chainring bolts. It's worthwhile checking these as well. This will involve removing the cranks to access the bolts, remove the bolts, add some thread lock and refit.
3. Bottom Bracket
If the pedals and cleats have been ruled out, the next area for investigation is the bottom bracket. If the bike has a threaded bottom bracket system then this is simply a case of removing the chainset and bottom bracket cups. Once again it's a case of checking the bottom bracket bearings for signs of rough bearings. Clean the parts, re-grease and refit. Ensuring that you tighten to the manufacturer's recommended torque settings. These torque values are always imprinted on the components themselves.
If your bike is fitted with a press-fit style of bottom bracket, check that the cups don't move within the frame. Rotate the bearings with a finger to check for signs of roughness which may indicate worn bearings. If the bearings feel worn then replacing the bottom bracket is probably your best option. Unfortunately, a press-fit bb cannot be removed as easily as its threaded counterpart. As a result, you may have to call upon the services of a cycle mechanic unless you have the specific bb tool.
As ever, make sure that when reassembling the bottom bracket/chainset you use plenty of grease. It's much better to go a little bit overboard here and wipe off any excess than to apply too little. Grease is most definitely your friend! Then as always ensure that everything is installed and tightened to recommended torque settings.
4. Headset
No matter the quality of a headset they aren't waterproof and water ingress is always possible. So it's always good practice to check the headset to make sure it's well-greased and that the bearings are still viable. To do so, you simply need to remove the central top cap bolt, slide off the stem and drop the forks out of the headtube. All bearings should now be of the sealed cartridge variety. Check them to make sure they are not running rough and replace as necessary.
After re-fitting the forks, stem, and top cap, ensure there is no play in the headset. Do this by gripping the headtube, applying the front brake and rocking the bike. If there is any play, loosen the stem bolts and tighten the top cap bolt a quarter of a turn at a time. Rinse and repeat until the play is gone yet the headset still moves freely when you rotate the bars from side to side.

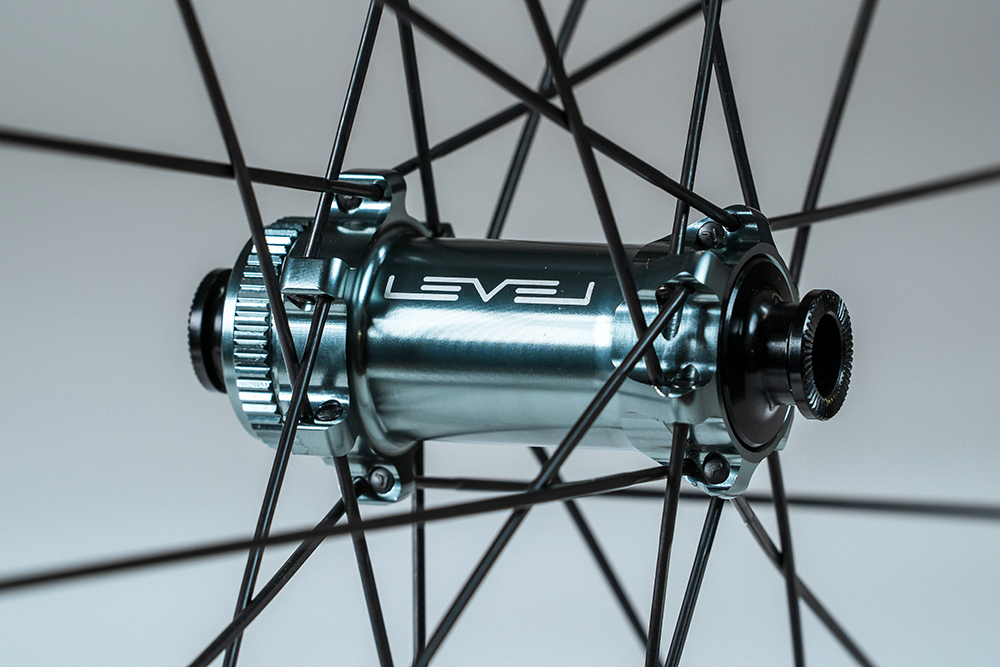
5. Wheels
Similarly to the headset, most hubs will use sealed cartridge bearings. These require less maintenance than say the cup and cone system that Shimano, in particular, still uses. Firstly, check for play which will indicate worn bearings. Do this by taking hold of the wheel and rocking the axle to see if there is any side to side movement. If there is then it's a good idea to replace the wheel bearings. Also, make sure you check for any loose spokes. This should be done during routine maintenance also.
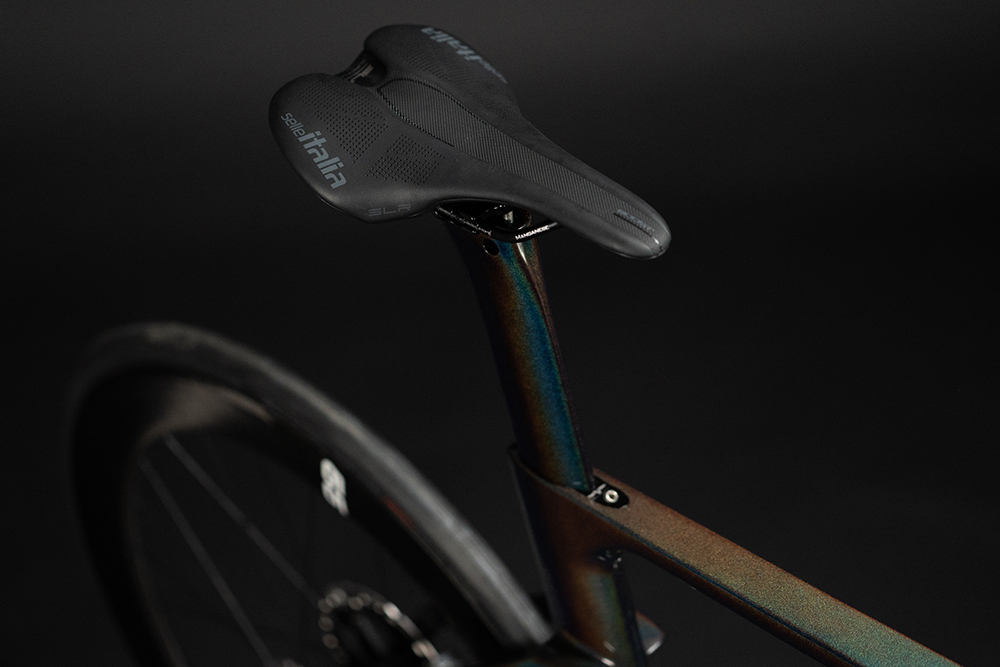
6. Saddle/Seatpost
Check that the rails are clamped firmly into the seat post and that there is no movement. The rails can also sometimes move slightly in the saddle itself. A quick squirt of lube down the rails where they enter the saddle usually eliminates this. Ensure any bolts are torqued up to the recommended value.
If all of these options have been eliminated and the fault persists, it may be indicative of a more serious underlying fault.
If none of the above solves the problem or you are not confident in carrying out any of the checks described above we would recommend consulting a professional bike mechanic. In the event that the problem persists, we would advise you to get in touch with our customer service team who will advise you of the next steps.
What is a gear hanger and why do they break? Find out in our guide.
If you own a Ribble bike and want to know what headset you need, you'll find all you need to know in our headset guide.

What is a Gravel Bike?
Gravel bikes are changing how people ride. Sitting right in the middle of road and off-road, they're fast on tarmac and stable on loose ground. Comfortable over long distances and ready for whatever the ride throws at you.

Tyre Choice and Pressures for UK Gravel
Tyres can make or break your gravel ride. This blog cuts through the guesswork on width, tread and pressure, showing you what actually works for UK conditions.

Getting the right set up is half the battle
Getting your gravel bike set up right is the difference between enjoying the ride and counting down the miles. This blog breaks down the key adjustments that actually matter, from saddle height to bar position and tyre pressure, without drowning you in jargon.

Why Gravel Riding Works In February
February gravel isn’t about hero rides. It’s about quiet trails, mixed surfaces and riding for the sake of it. This blog dives into why Ribble staff and the Outliers keep choosing gravel when winter drags on, from traffic-free routes to bikes built to handle proper UK conditions.

Post Ride Checks That Keep Your Gravel Bike Running
Winter wrecks bikes. This blog shows you how to fight back in five minutes flat. No tools, no faff. Just the simple checks that stop small issues turning into expensive problems. From wiping down grit to spotting tyre cuts and keeping your chain alive, it’s the bare minimum that makes a massive difference. Ride more. Fix less. Your future self will thank you.

Winter Gravel Clothing Guide
Winter gravel isn’t about suffering. It’s about turning up and staying comfortable. This guide shares no-nonsense kit advice from Ribble staff and the Outliers on what actually works in a UK February.

When To Service Your Bike? A Practical Guide for Every Rider
Looking after your bike doesn’t start and end with a clean after riding. Regular servicing keeps it working at its best, no matter how often you ride. The tricky part is knowing when a service is needed. Too early feels unnecessary. Too late and the problems have already crept in. This guide breaks it down simply so you can ride more and worry less.

Best Road Bikes 2026
A clear guide to choosing the right road bike for how you actually ride, cutting through the noise to explain what actually makes a road bike ‘the best’ in 2026.

Shimano 105 - The GOAT Groupset?
Shimano 105 is the groupset riders trust when they want pro-level performance without the pro-level price. With both mechanical and Di2 options now available, it might just be the GOAT. Here’s why.

Electric Road Bike vs Road Bike – What’s the Difference?
Electric road bikes deliver the same ride, handling and thrill as traditional road bikes, just with a discreet boost that helps you go further, faster, and ride more often.

How Far Can an Electric Bike Go? Range, Batteries & Real-World Tips
“How far can an electric bike really go?” In this guide, we’ll break down exactly what determines e-bike range, share practical tips to make every charge go further, and show how Ribble’s electric bikes compare in real-world conditions.

Are e-bikes Just for Old People? Myths Debunked
Think e-bikes are just for old folks, or perhaps you feel e-bikes are cheating? Think again. We’re busting the biggest myths holding riders back from discovering what e-bikes really offer.